Extend Microsoft Dynamics 365 Business Central with the BE-ProServ App with intelligent billing and recurring billing functions, e.g. monthly SaaS subscriptions, rent, service (SLA) and maintenance. In addition, you can map many other business processes, such as the research of prices in the IT COP catalog and their transfer into your offer or purchase order.
Working time is valuable, so processes in ERP should be able to be handled faster. Spend more time selling and optimizing your business processes in the ERP system. BE-ProServ App creates a simple workflow for intelligent quotation creation with different billing types and simultaneous creation of e.g. rental contracts, license subscriptions, etc. for the monthly billing of articles.
You can use different billing types such as SaaS, renewal, rent and financing
into your quotes and invoices in Microsoft Dynamics 365 Business Central.
Special calculation forms, e.g. for periodic billing of Saas, renewal, rent and financing, are included in the app. You can also create your own billing types.
Simple workflow:
Your customer wants to buy a server with monthly support at a fixed price.
Step 1: Create a sales quote in the BE-ProServ app in Business Central.
This includes a server and you add support to the item
as a monthly billing type.
Step 2: When you create the offer, a contract with monthly support is automatically
created in the background.
Step 3: After the customer has placed an order, the contract is activated.
Step 4: Now you still need to set up recurring billing for the customer.
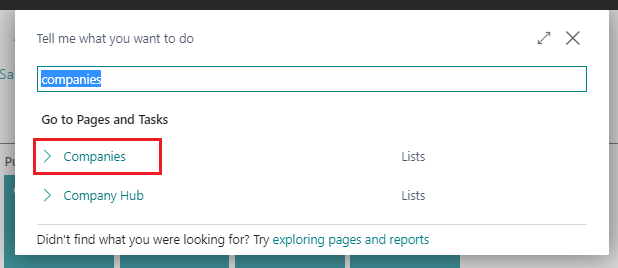
Open the company list via the search (magnifying glass at the top right).

Enter "companies" in the search field. Then Click on Companies.
Click on the button New, to create a new company.

The new company was created.

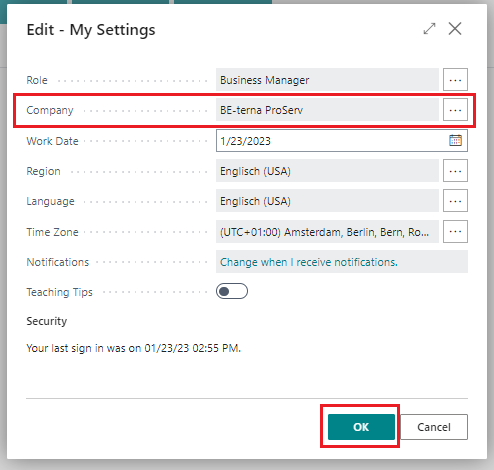
Select the company BE-terna ProServ an then click ok.
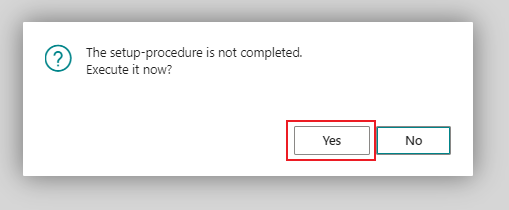
Click on the button Yes, to start the BE-terna ProServ Setup Procedure.
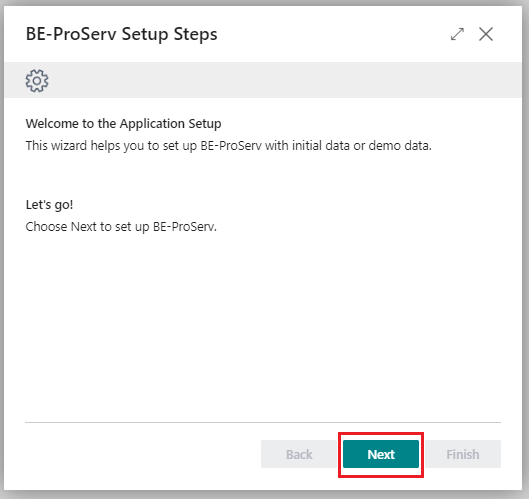
The BE-terna ProServ Setup Wizard shows up- Click Next.
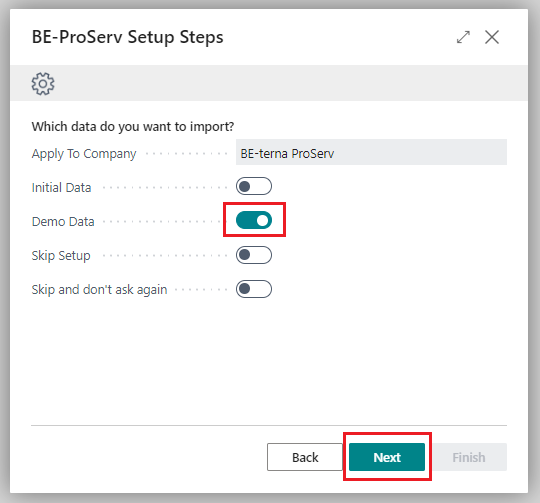
Activate the toggle button Demo Data. Click Next to continue the wizard
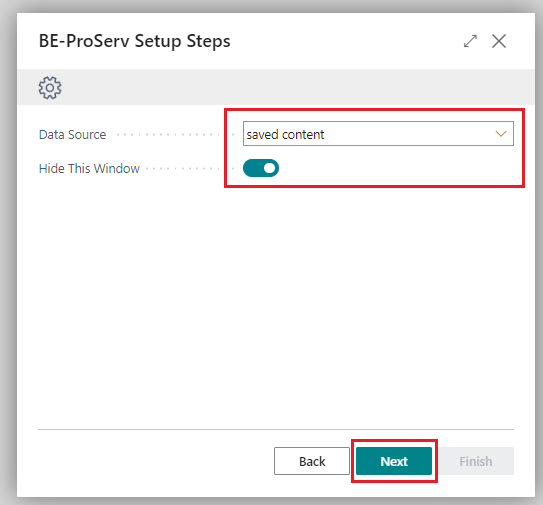
Click on the field Data Source and select saved content.
Click Next to continue the wizard
Click on the Field Finish to close the wizard.
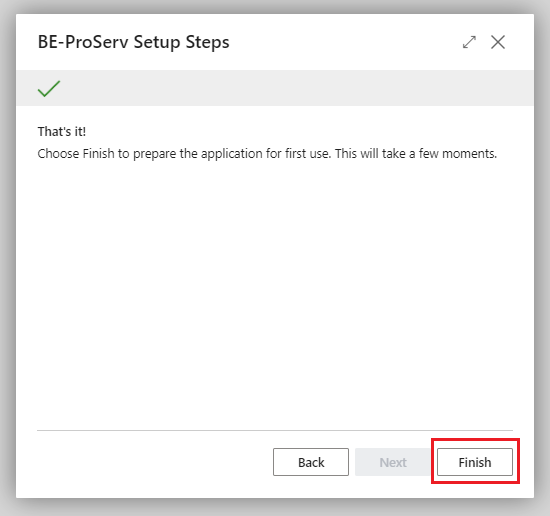
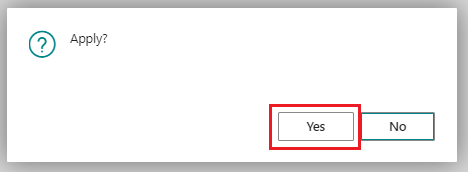
Click Yes.
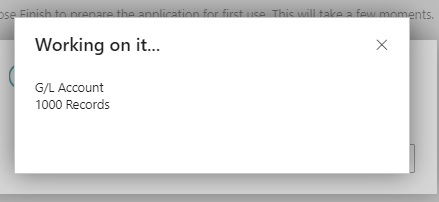
This takes a while.
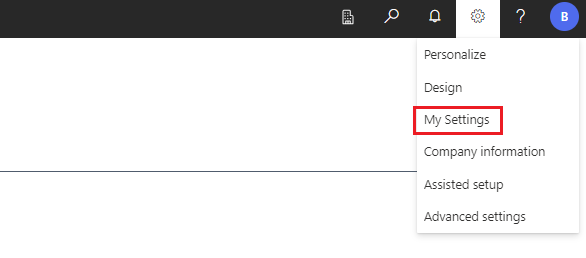
Click on the menu item My Settings.
Open the assist edit at the field Role.
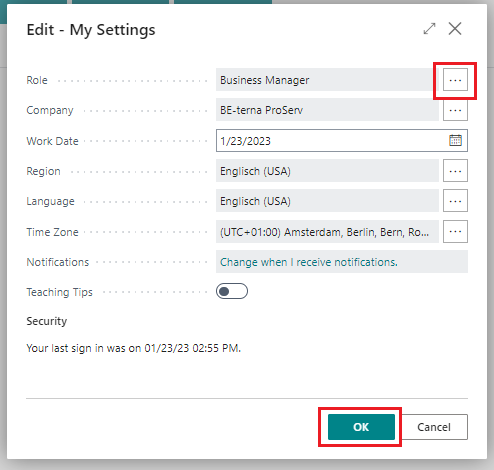
Select the cell with the value BE-ProServ Default Profile and then Click the button OK..

Click the button OK at the My Settings page, too. The Role Center Page will be reloaded.

Now you can see the BE-terna ProServ Dashboard.
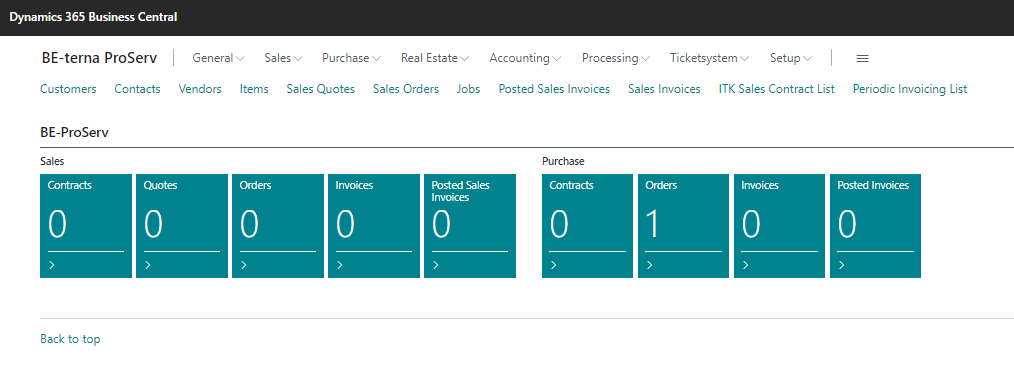
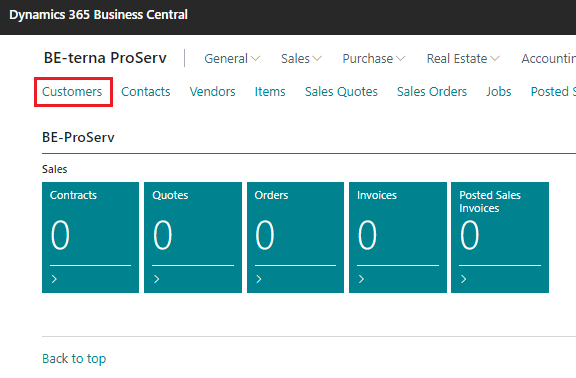
Click on the Link Customers.
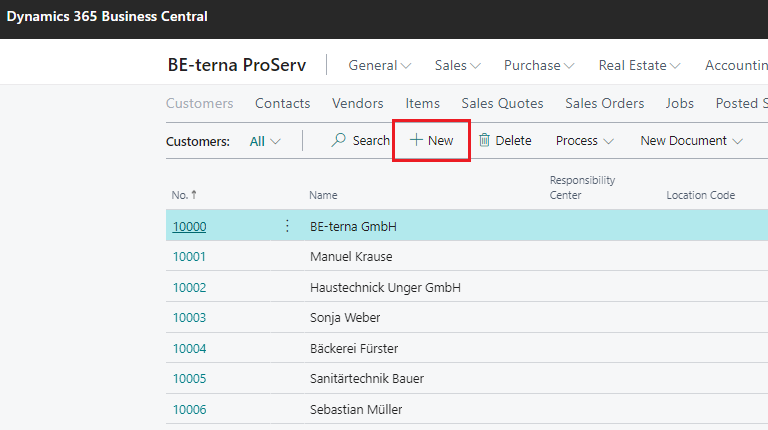
Click on the link New.
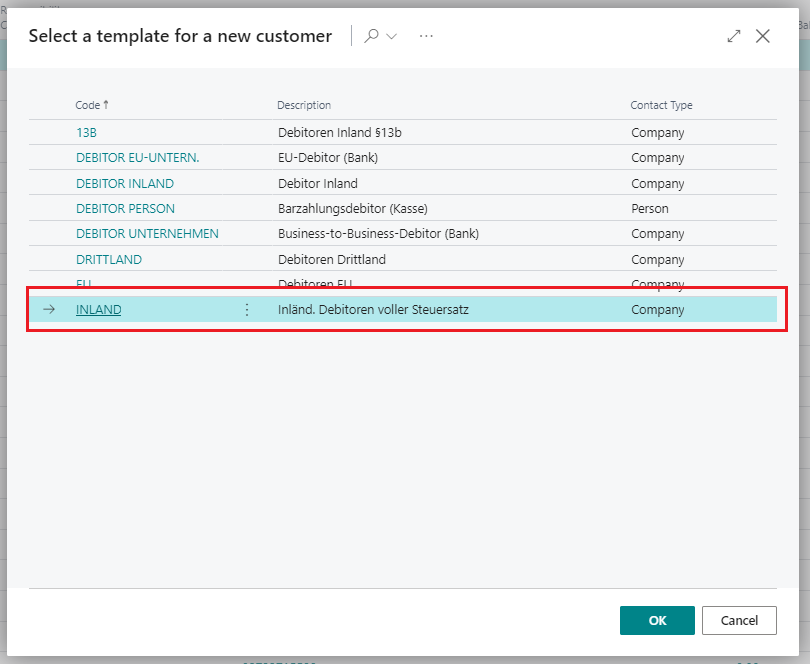
Select "Inland" (Customer in the same country). Then Click ok.
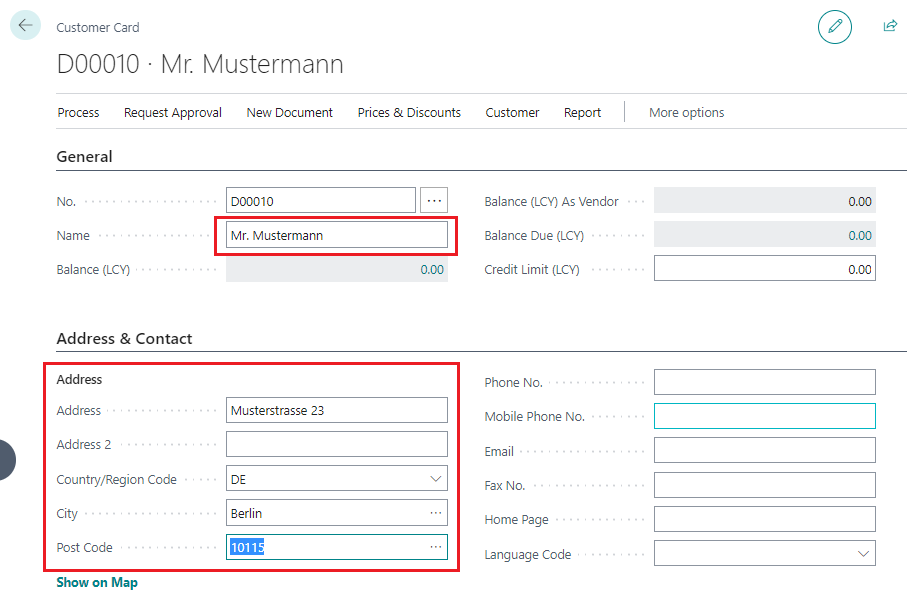
Fill in the Name and Address fields.
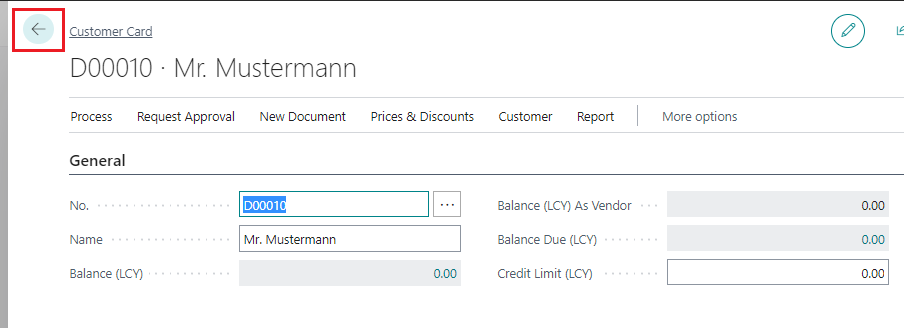
Click on the "Back Button"
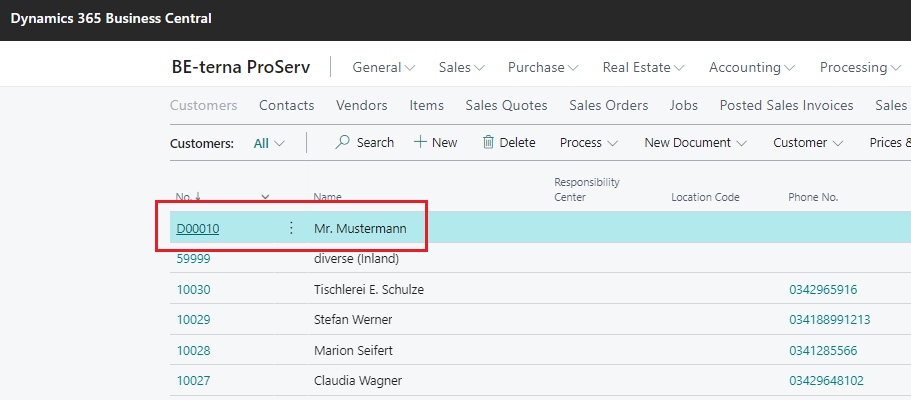
Here you can see your new customer Mr. Mustermann.
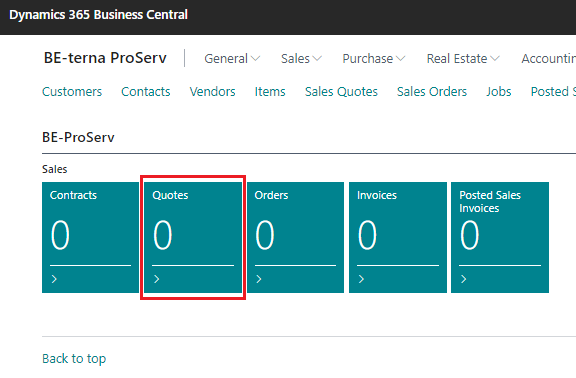
Click on the Cue Quotes.
Click on the Link New.

Select "BE-ProServ in the Field Sales Type.
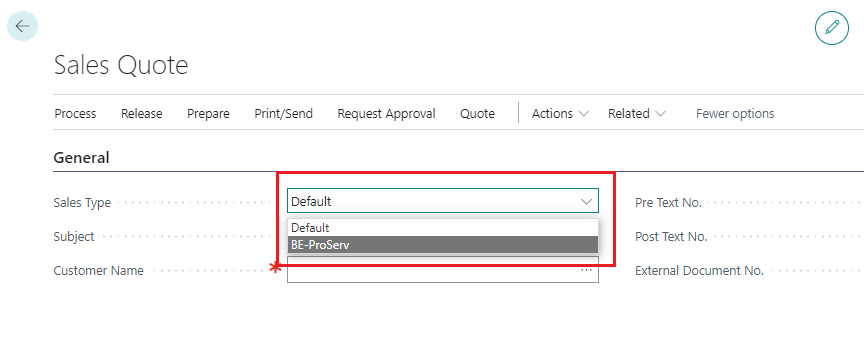
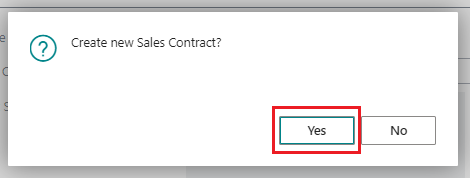
Click on the Yes Button.
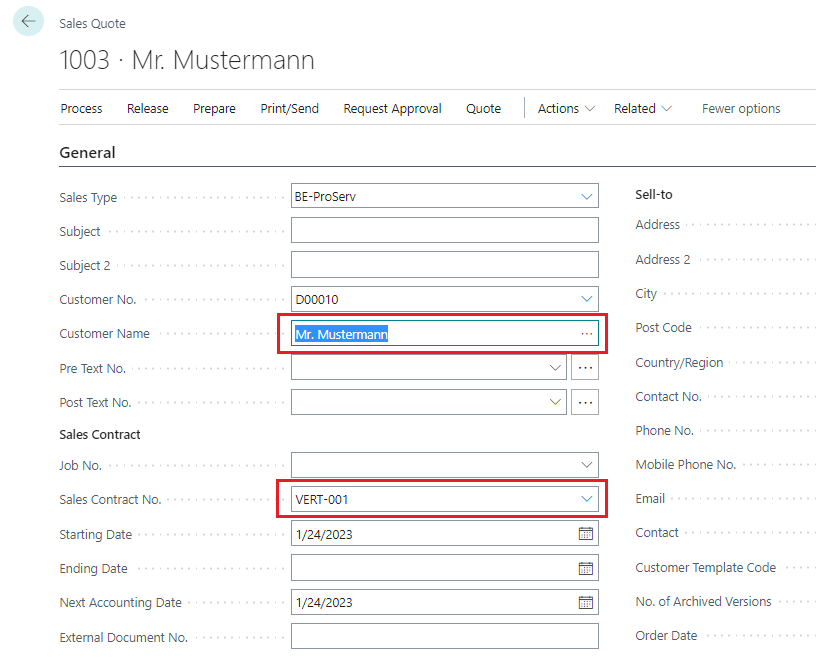
Search for the customer name Mr. Mustermann. The contract number was created automatically.
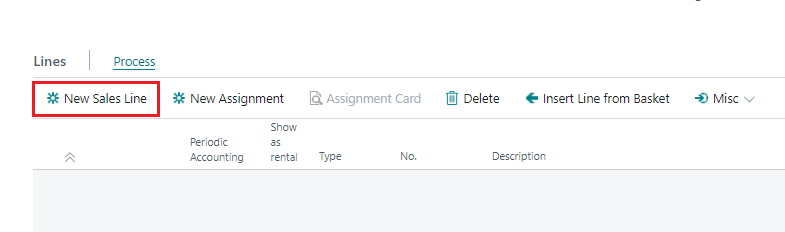
Click on the Button New Sales Line.
Fill out the Field Type with Item. Select the HP Z2 Tower and Quantity 1.
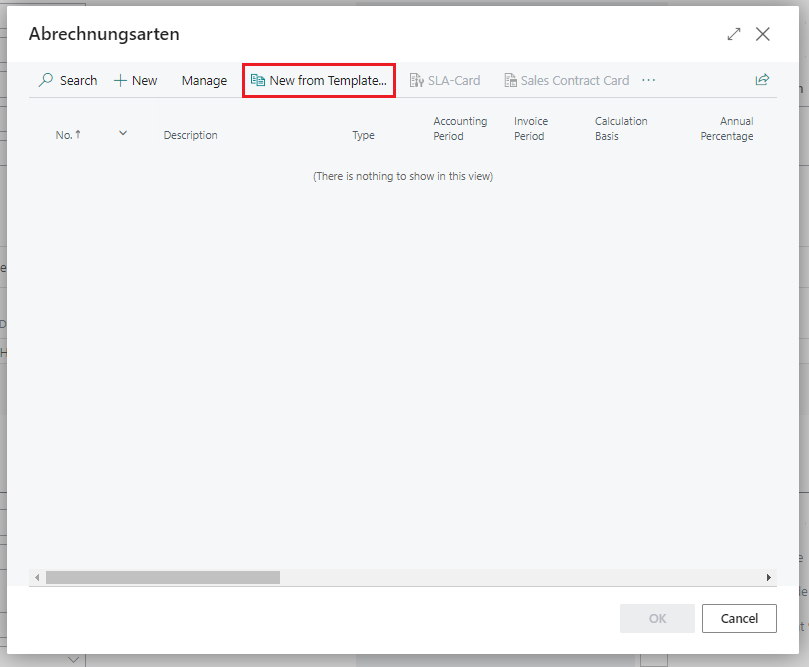
Then click on the Button New Assignment.

Click on the Button New from Template.
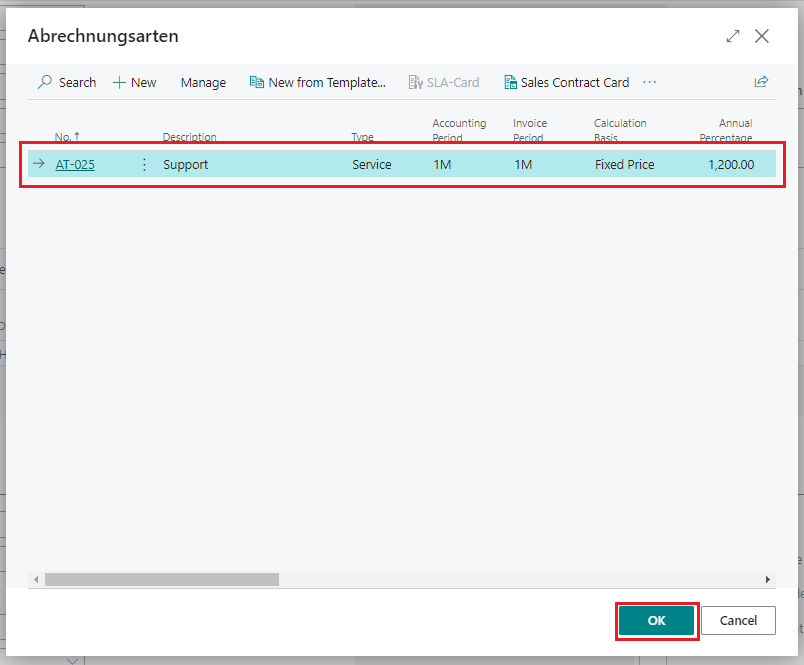
Select the line Support and then click OK.
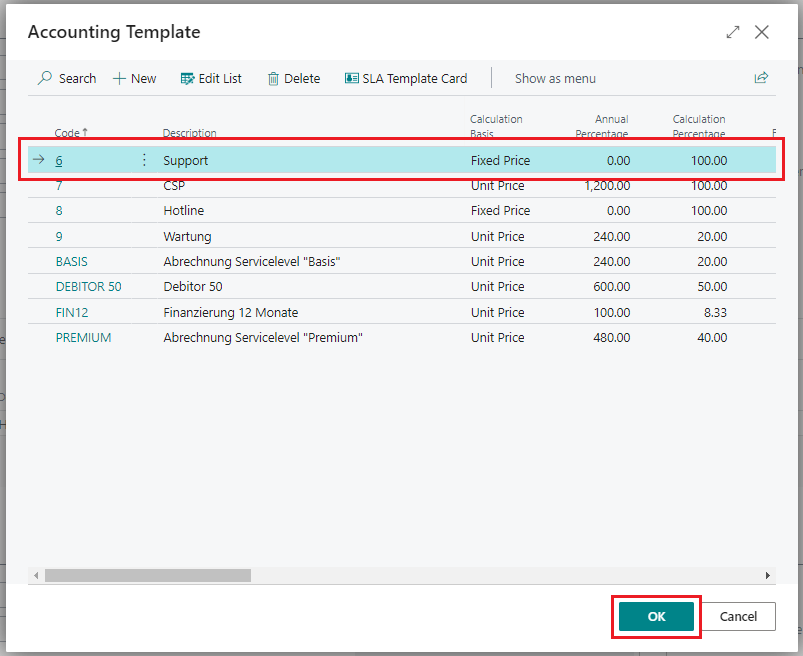
Select the line Support and then click OK.
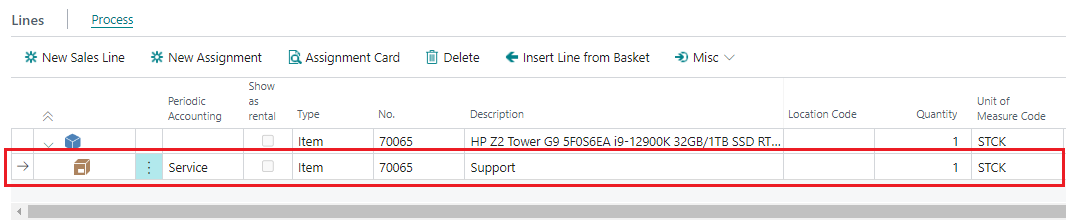
This is your sales quote with monthly Support billing.
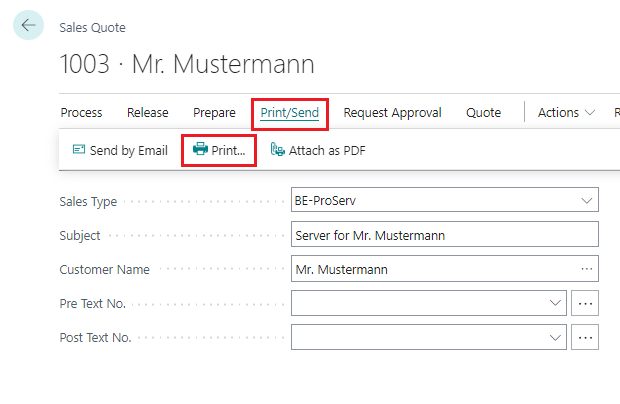
You can print an Preview from your Sales Quote. Click on Print/Send an then on Print.
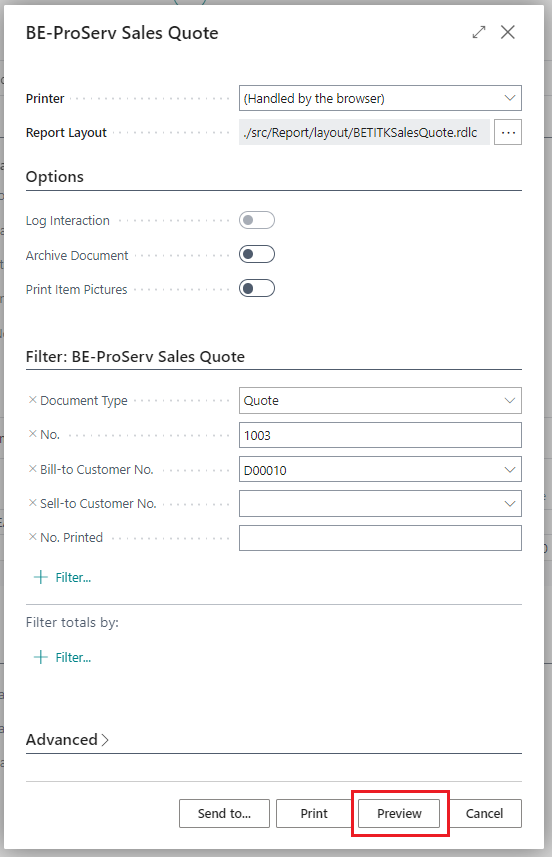
Click on Preview.
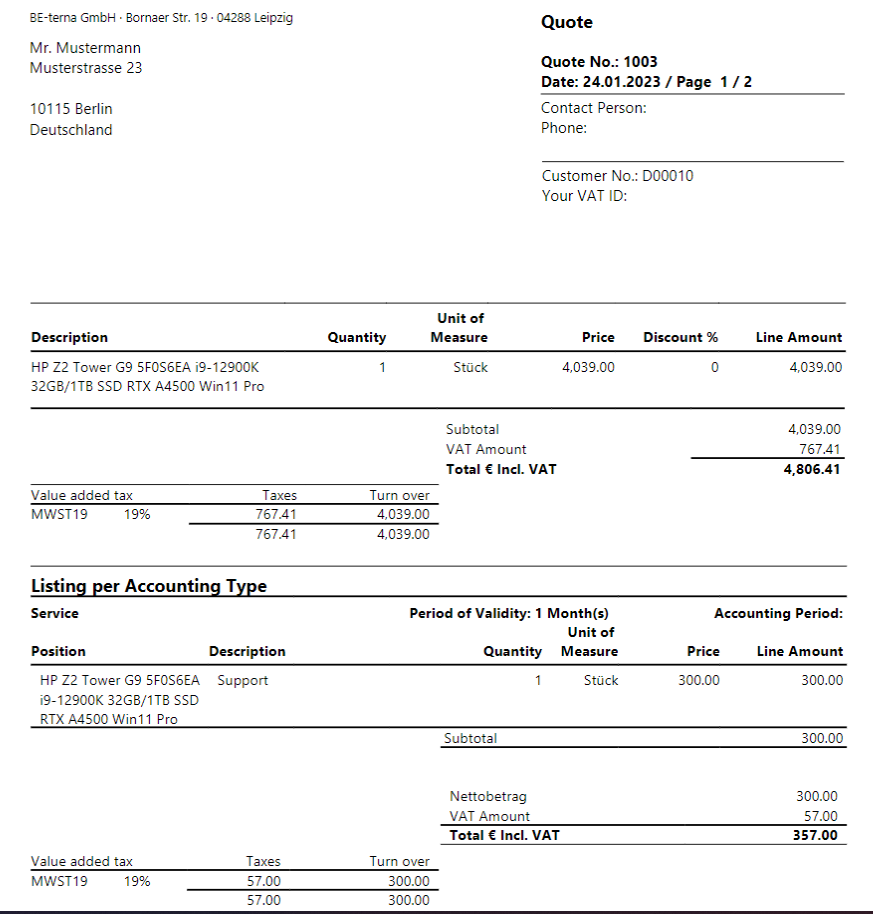
This is your sales Quote with monthly Support billing with fixed price.
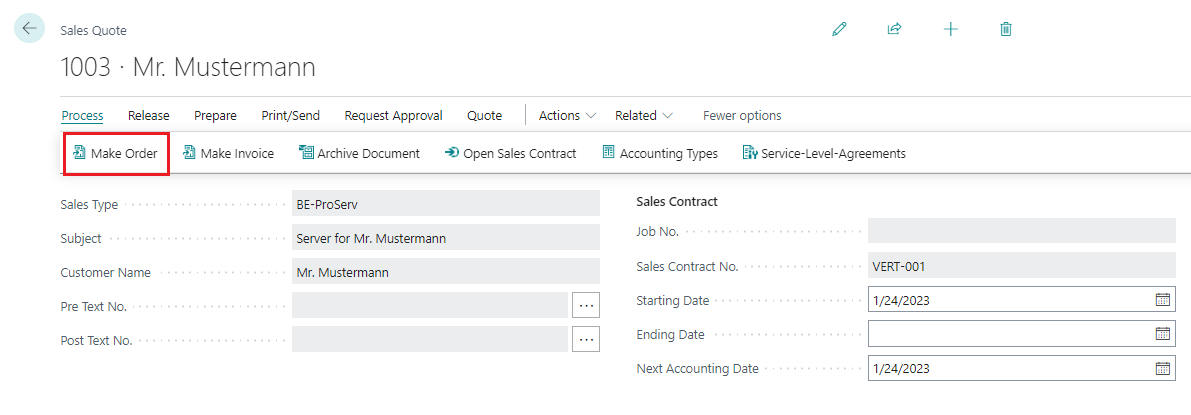
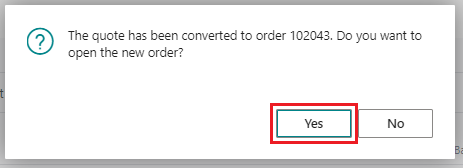
Click on the Button Make Order.
Click on the Button Yes.

Click on the Button Yes.
Click in the Field Job No. an then click the Button "+ New".
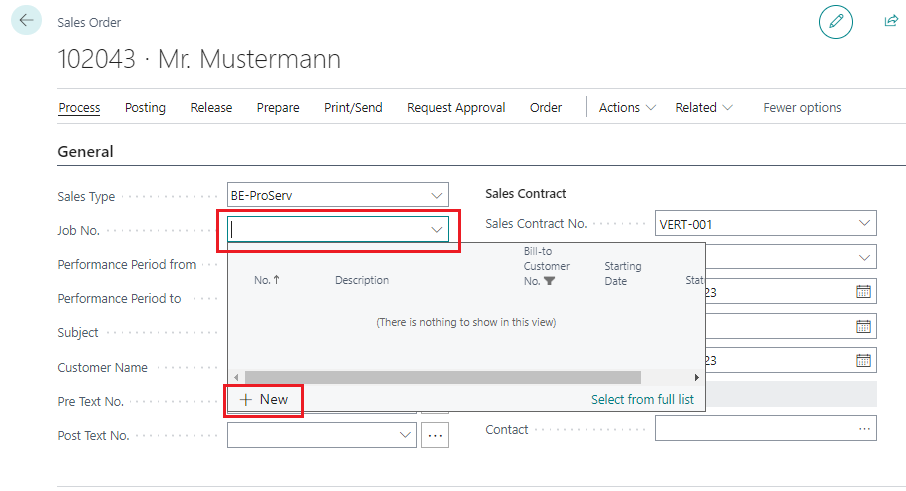
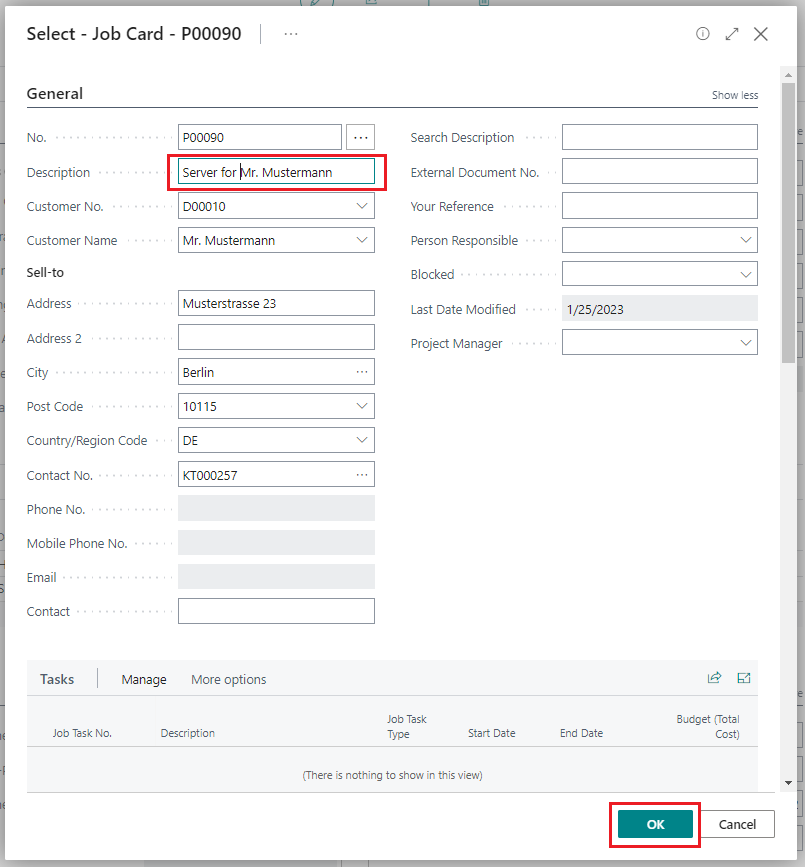
The job number is generated automatically. Click in the Field Description and fill this Field with a Job Name. Then click the Button OK.
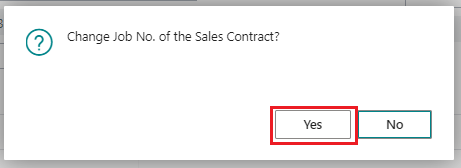
Click on the Button Yes.
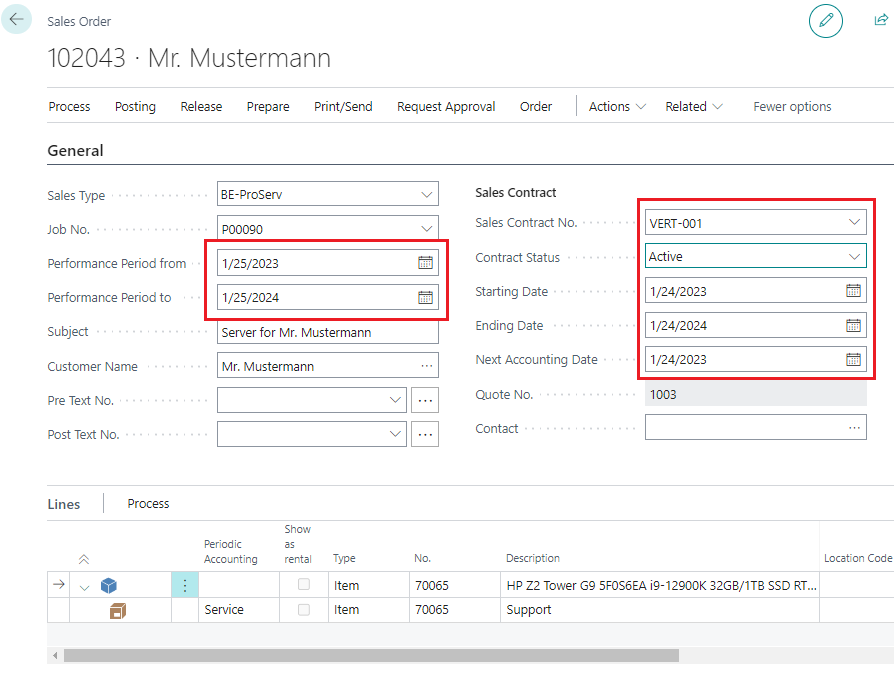
Check the Fields Performance Period for the contract duration. Then also check the Fields for the sales contract. Set the Field "Contract Status" on "Active". Check the other Fields.
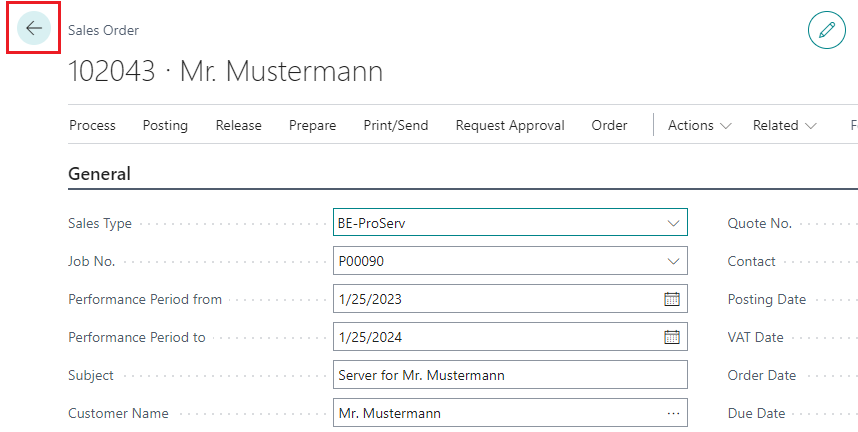
Click on the "Back Button".
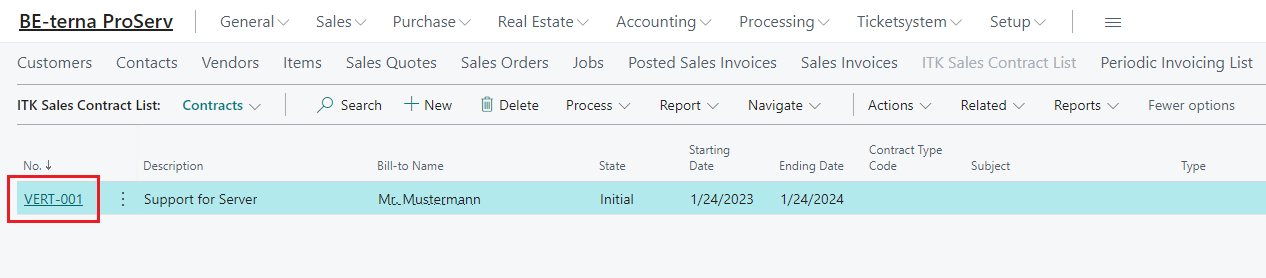
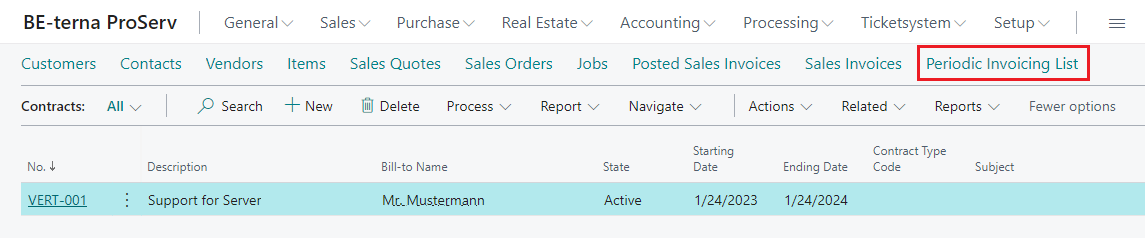
Click on the Link "ITK Sales Contract List".

Click on the Link from the Contract "VERT-001".
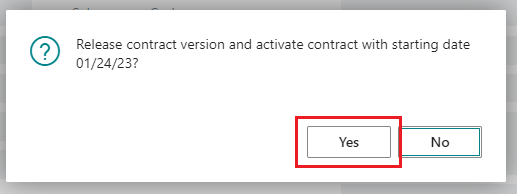
Click on the Menu Status and then on the Button "Active".
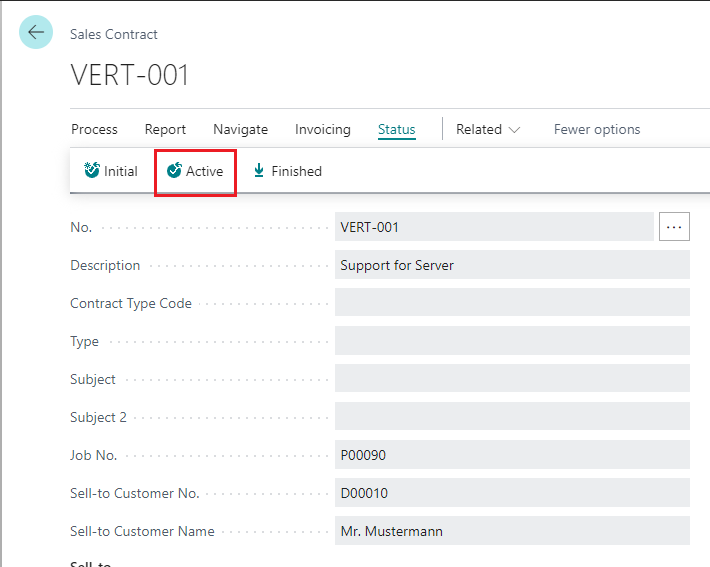
Click on the Button Yes. The contract is activated.
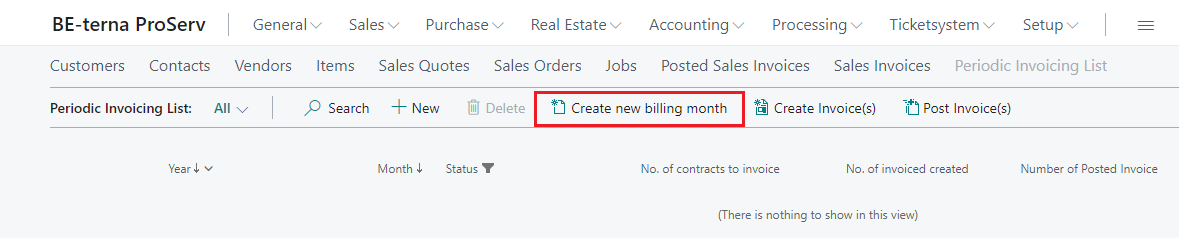
Click on the Link "Periodic Invoicing List".
Click on the Button "Create new billing month".
The First Month January 2023 is created. Click on the Link 2023.
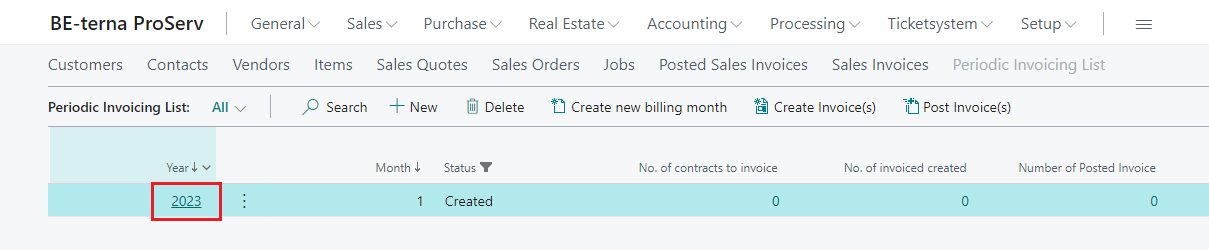
Click on the Button "Create Invoice(s). All periodic invoices for this month are created from the active contracts,
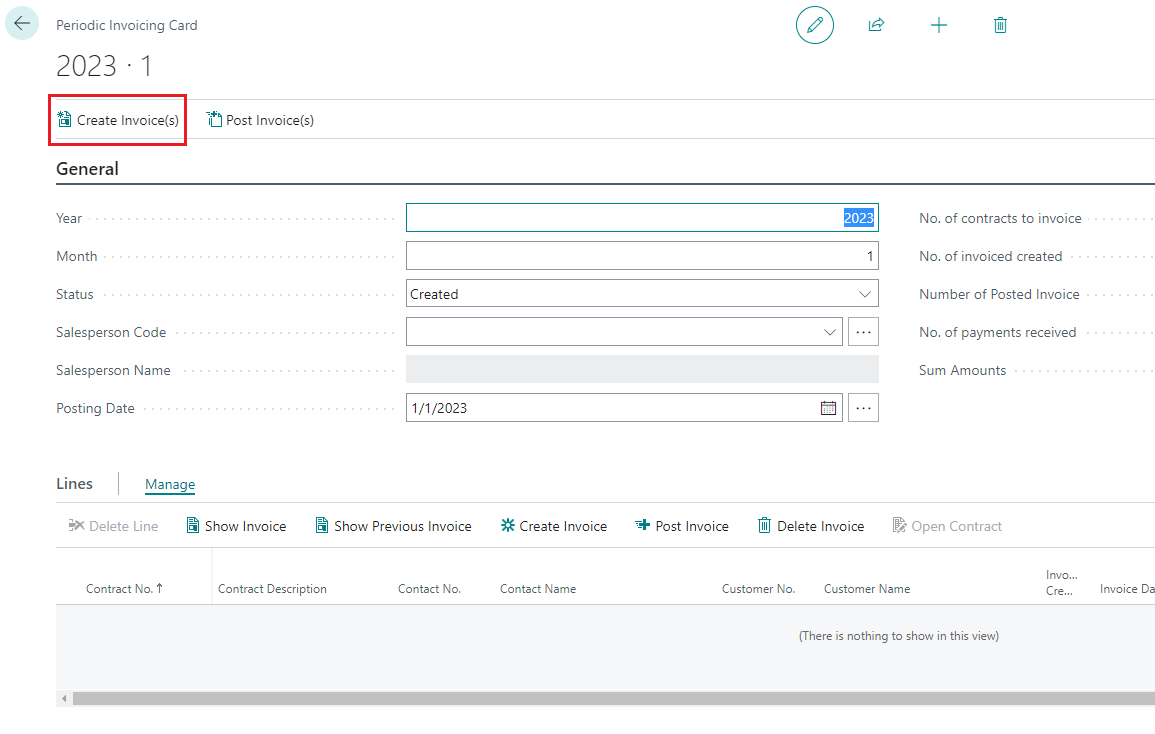
Click on the Button "Yes".
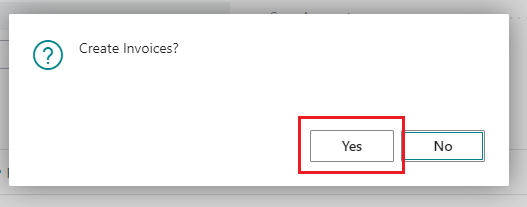
Click on the Button "Post Invoice(s)". All invoices will be posted. Then click on the "Back Button"
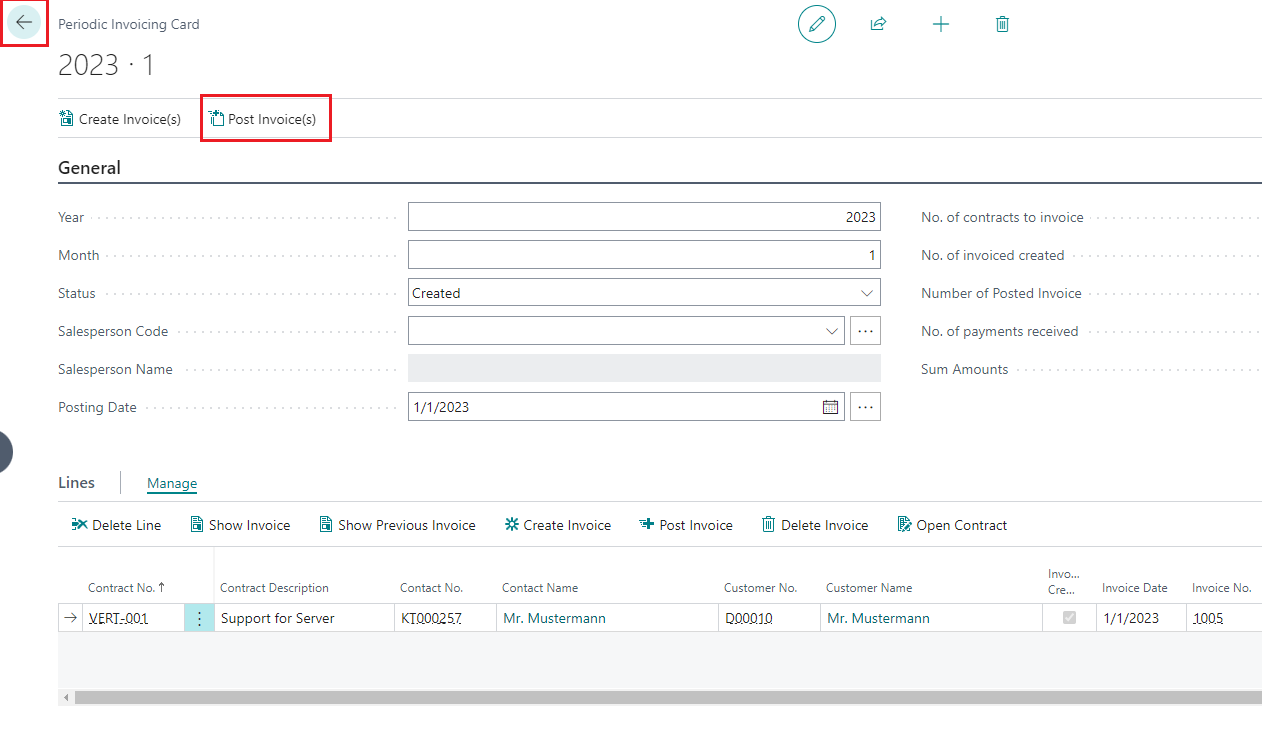
Click on the Link "Posted Sales Invoices".
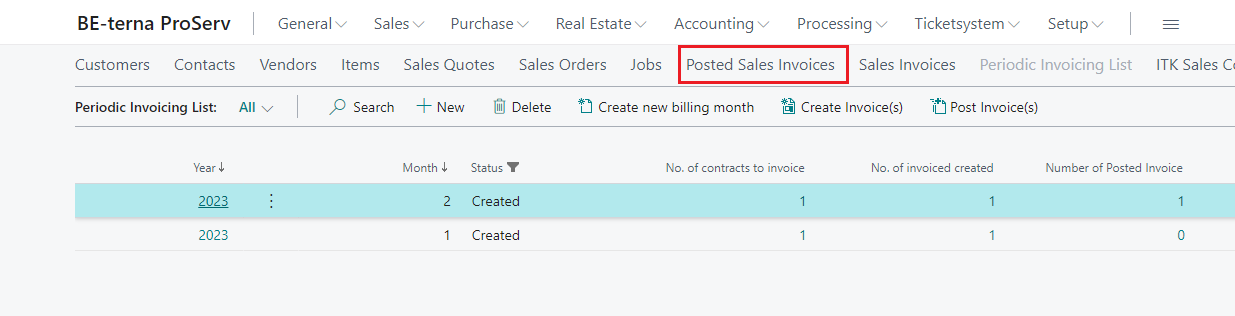
Then Click on the Link from the Invoice Number.

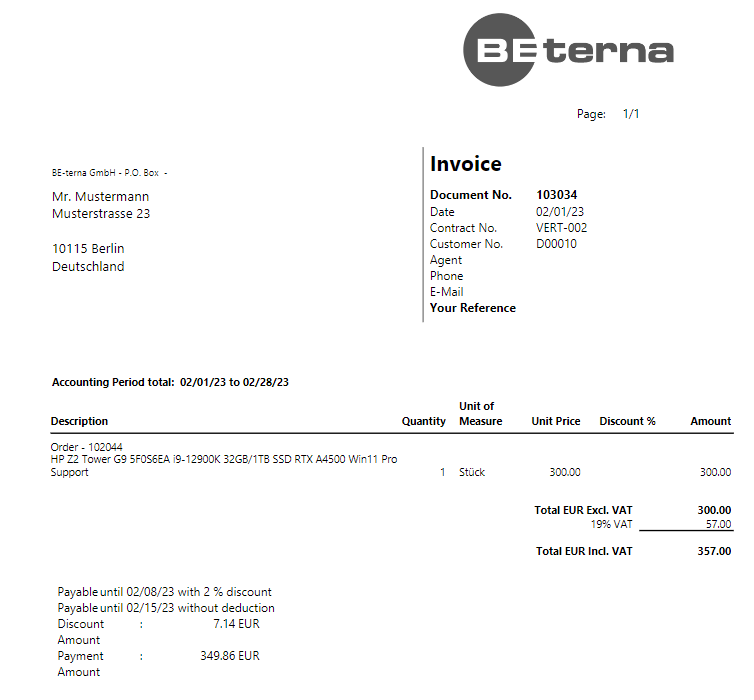
Click on the "Print" Button.
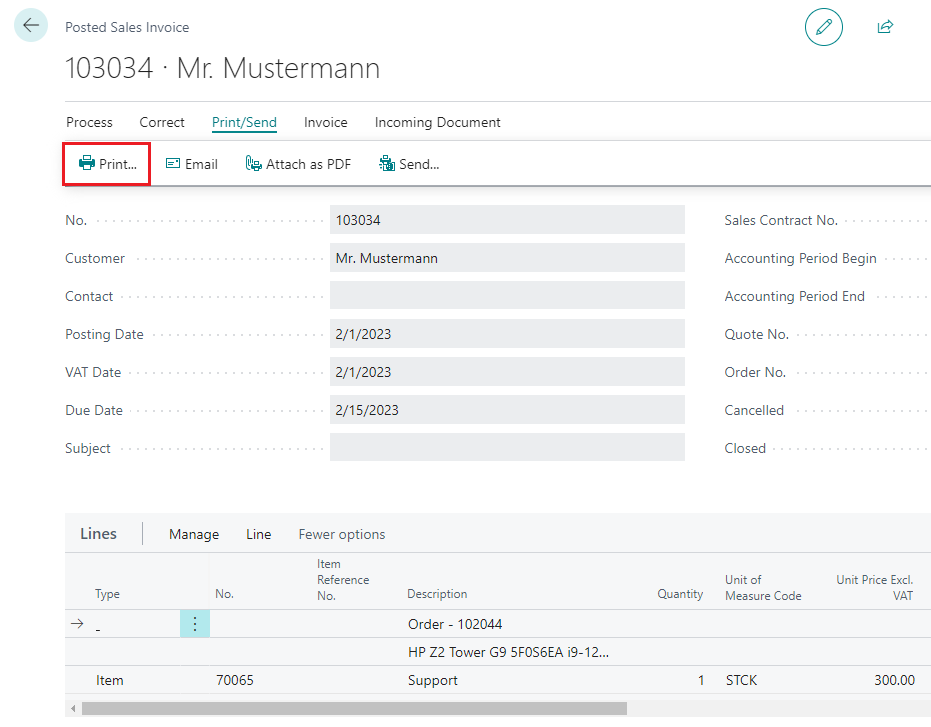
The click on the "Preview" Button.

This is your monthly Invoice for your customer. The invoice is generated every month according to the duration of the contract.